Utilizing the program’s full potential
Teachers and lecturers could start using the program creatively as soon as they have had some practice with the provided demo products – a test and a slide show. Experimenting with the available exercises and presentation frames, for example editing text and images, altering settings, adding and removing objects, etc., seem to be the appropriate initial steps. Your first ‘own’ projects, even though small and simple, will undoubtedly boost your confidence and motivation. With time, however, one should definitely try to upgrade their skills and knowledge, and make the most of this e-Learning authoring software!
Hopefully, you will soon be able to ...
- engage learners with more interesting and challenging tasks;
- enhance the learning experience with well composed, visually appealing slides;
- base your projects on solid methodology and establish an efficient ‘workflow algorithm’.
What follows is a list of project refinements, effective presentation techniques, or options to consider (after you’ve gained more experience) in view of the above-mentioned educational goals. None of these is a must; however, each serves a useful purpose.
- Integrate tests with slide shows and vice versa.
- Translate the items in the Glossary.txt file for your non-English speaking students.
- Customize the Backgrounds folder with images which your students may like better.
- Activate the Automatic key generating feature whenever possible.
- Convert plain text exercises to 10_Q format computerized quizzes with a click of a button on the exercise-specific text editor pages.
- Take advantage of the built-in tools to help you check and assess the speaking and writing responses of test takers.
- Open the Test specs page to check if numerical parameters of a test – number of questions and exercises, maximum score, difficulty levels, etc., are correctly calculated.
- With a click of a button, generate ‘rank lists’ of test takers according to the number of points they have scored.
- Merge seamlessly 2 slide shows when 20 ‘composite’ frames are not sufficient.
- Enhance learners’ comprehension by making the best out of Zoom, Unfold, Bulleted list, Paginated text, and Table unfold features.
- Apply fill-in paint (solid colors or linear gradients) to text fields; draw straight or curved lines and shapes in 4 different colors with the mouse while running slide shows.
- Employ frame transition and object animation effects.
- Use the Timer device to check how long you’ve been talking.
- Supplement bulleted lists with introductory text, paginated text areas with headings, and tables with captions ‘the easy way’.
- Let the program perform all navigation by activating the Automatic slide show feature and only provide explanations and comments.
- Follow the recommended method for producing your own test materials for the Free form exercise (in ‘pdf’ and ‘png’ formats) and for retaining the original quality of images in slide shows
- Learn how to insert symbols with code, and how to use 10 HTML tags to edit words or phrases in certain text fields.
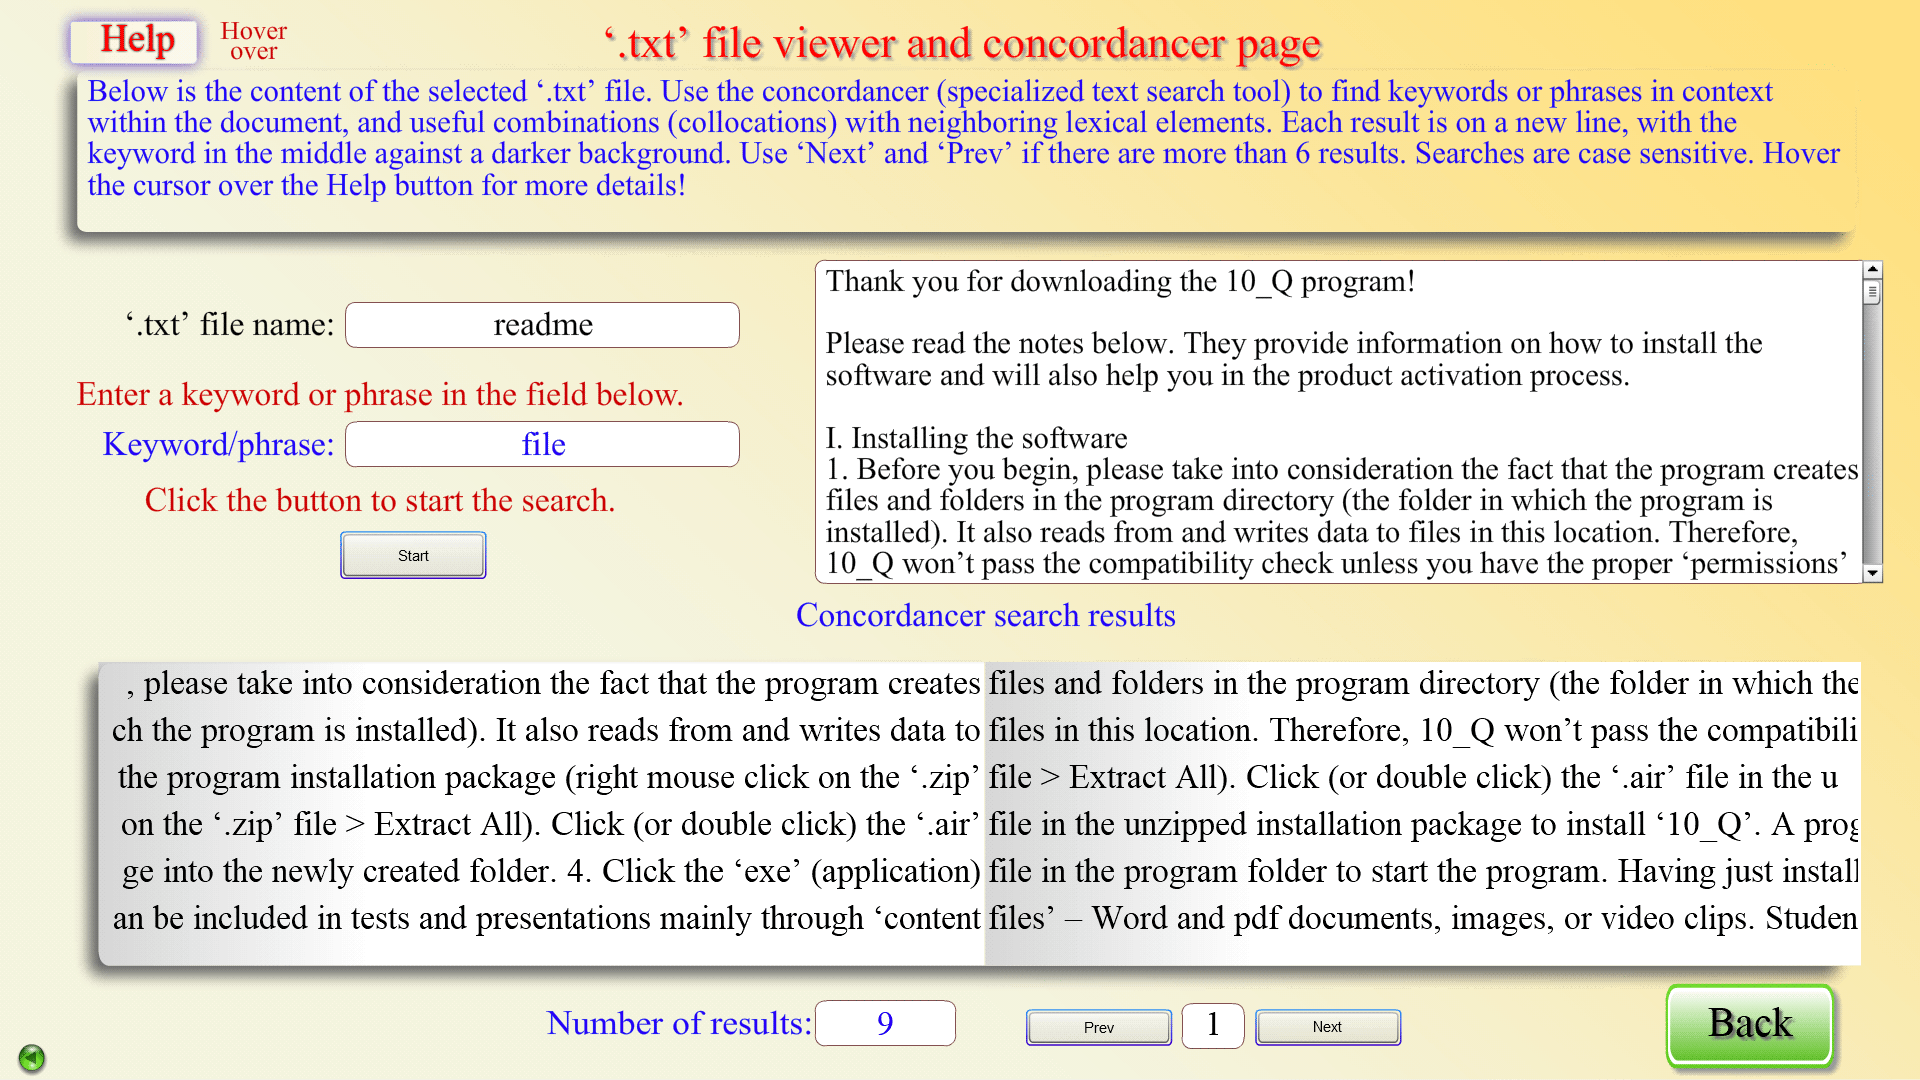
- Make ‘linguistic research’ with the built-in concordancer tool and encourage students to do that, too.
- Keep the ‘.txt’ files of slide show projects ‘neat and tidy’ by automatically saving long documents intended for the paginated and scrollable text areas in separate ‘Presentation_Name_TF.txt’ files.
- Edit your slide show, ‘_TF’, and test ‘.txt’ files inside the built-in text editors specially created for the purpose.
Besides, it is also a good idea to analyze the statistical data generated for you in the Rankling.txt files, to teach students some computer skills relevant to working with this software, and emphasize the benefits of using e-Learning programs!